ちょっと古いパソコンでサクッと動作しそうなOSを動かそう。
要るもの(もしくはあるといいもの)
- USBメモリ とりあえず手元にあった8GB(中身が消えてもいいもの、もしくは元々空のもの)
- Puppy Linux 本体 ISOファイル
- Rufus (起動可能なUSBドライブを作成するソフト)
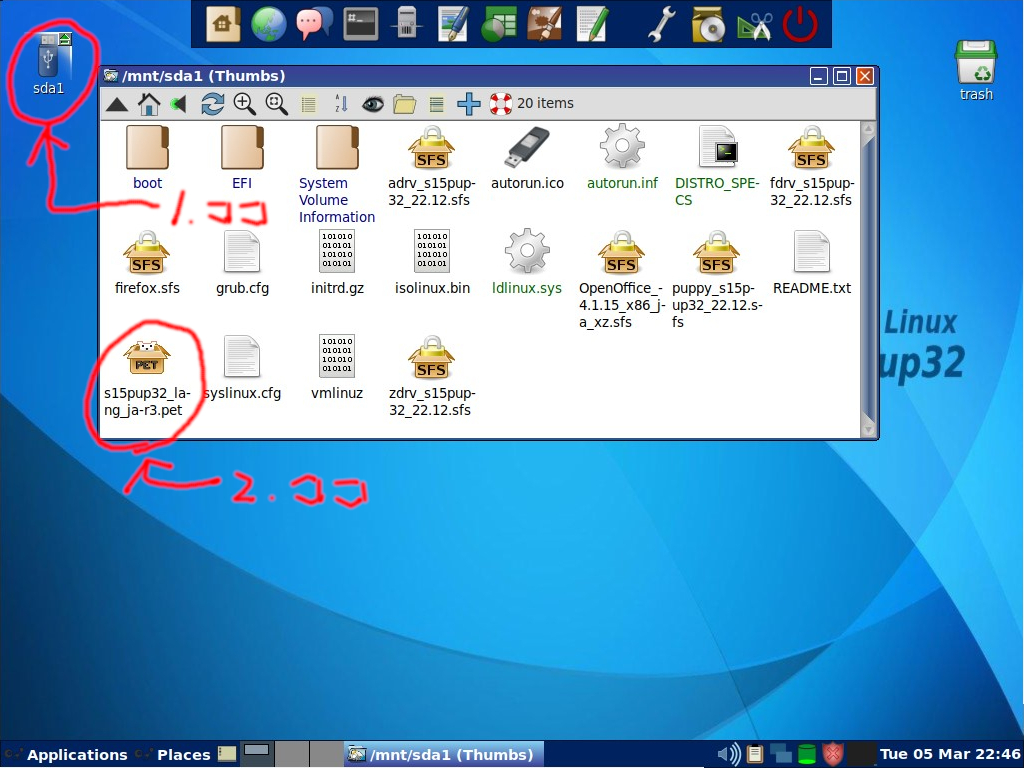
- 日本語化ファイル s15pup32_lang_ja-r3.pet
- firefox.sfs
- (おまけ)OpenOffice
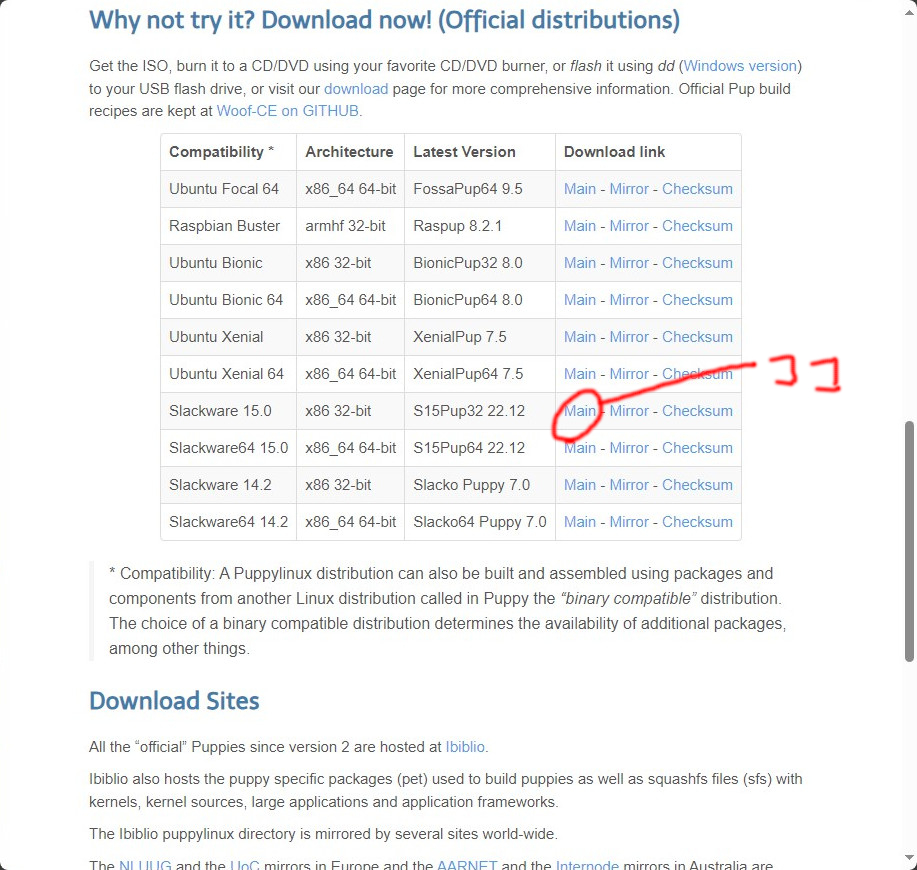
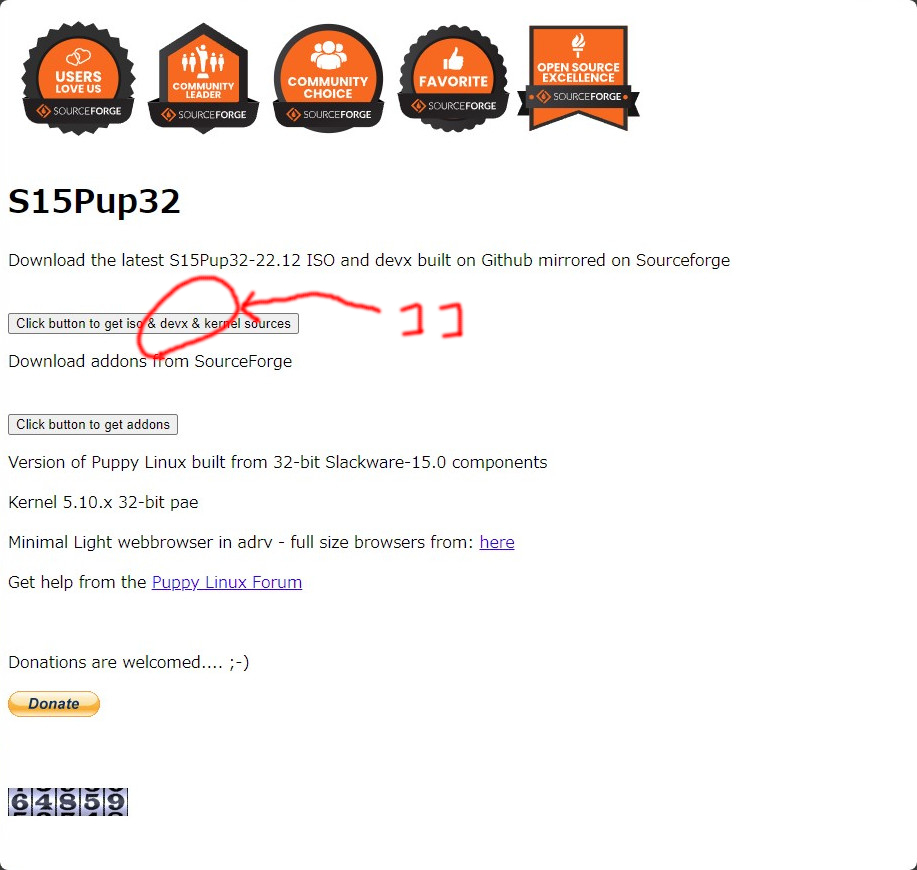
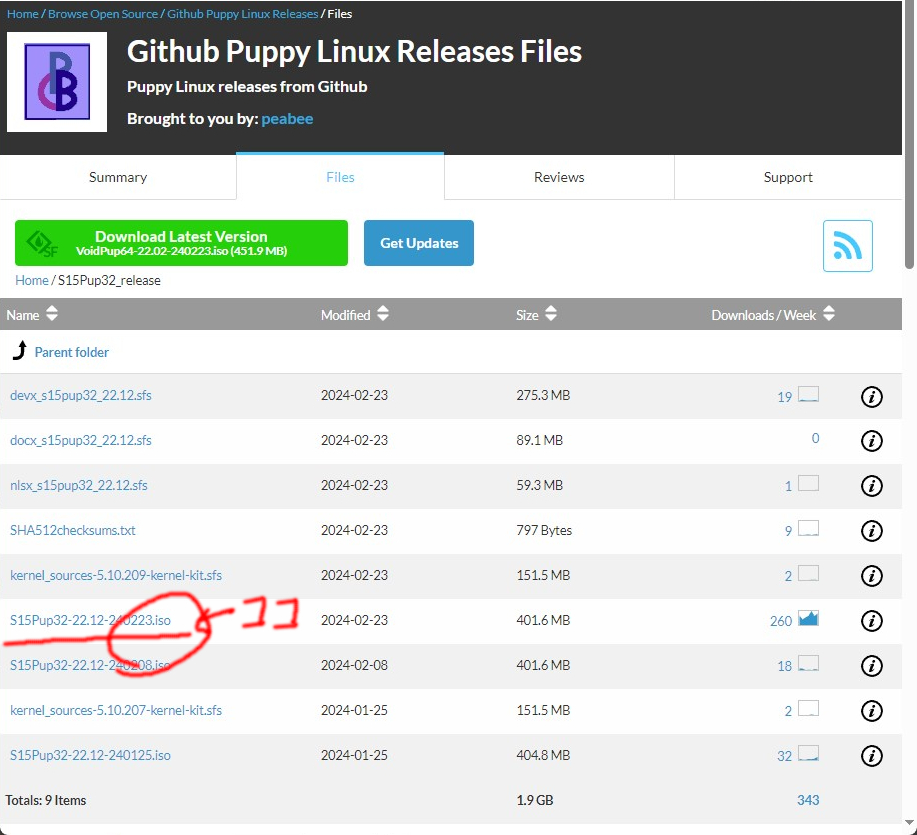
1.Puppy LinuxのオフィシャルのページへアクセスしISOファイルをダウンロードします。

2.Rufusをダウンロードします。
Rufusは参照するページに記載の通り起動可能なUSBドライブを簡単に作成できます。
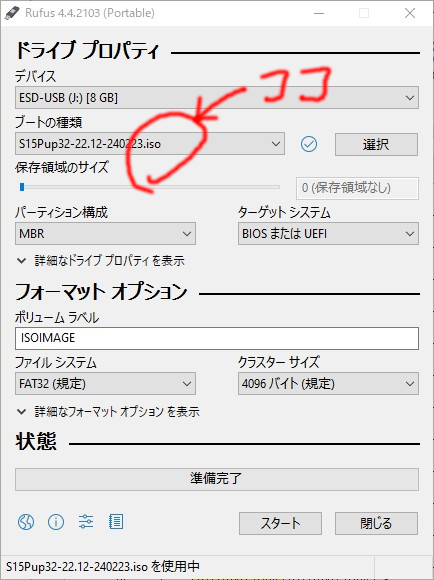
3.ISOファイルをUSBに書き込みます。
ダウンロードしたISOファイルを以下の場所にドロップして、USBメモリを挿してスタートボタンを押すだけです。
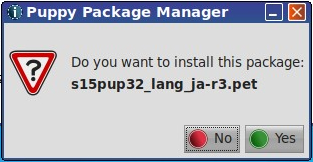
4.日本語化ファイル s15pup32_lang_ja-r3.pet.sfsをダウンロードします。
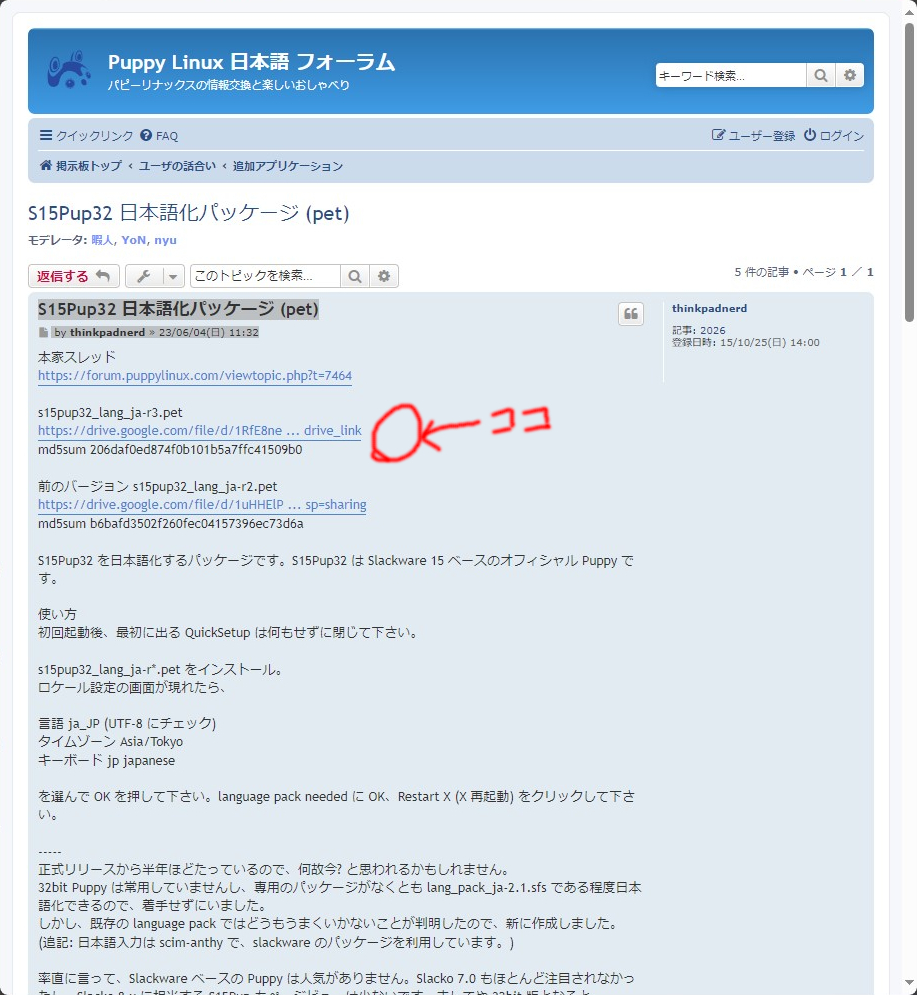
thinkpadnerdさんに感謝!!
ダウンロードしたファイルを作成したUSBにコピーしておきます。
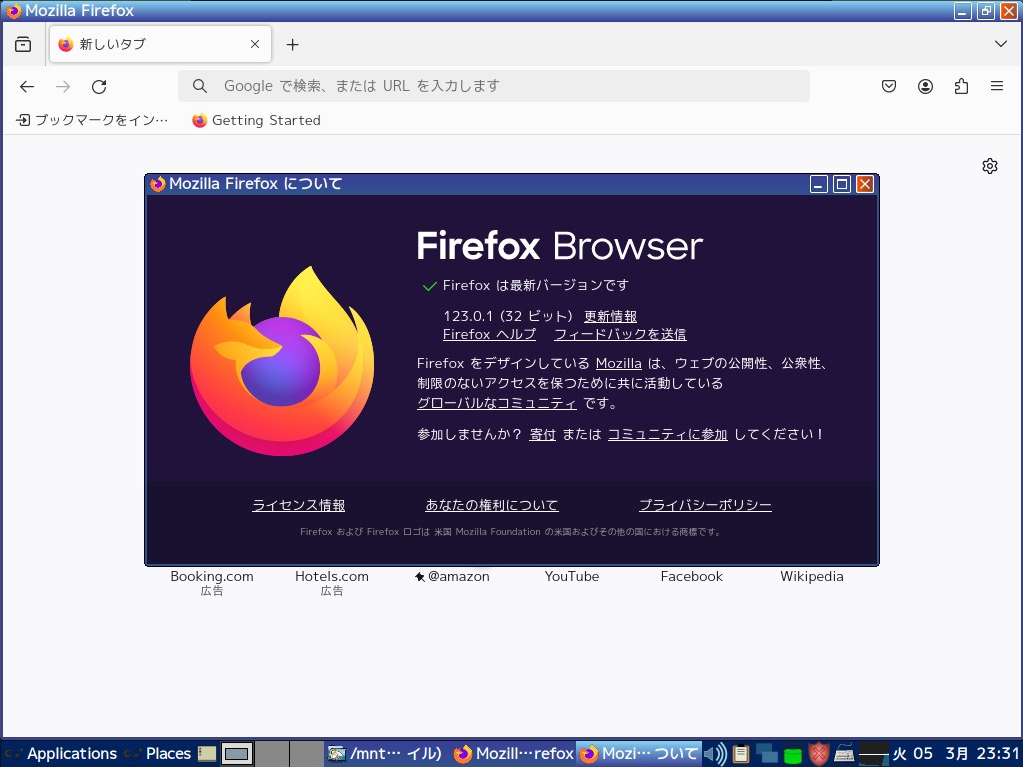
5.firefox.sfsをダウンロードします。
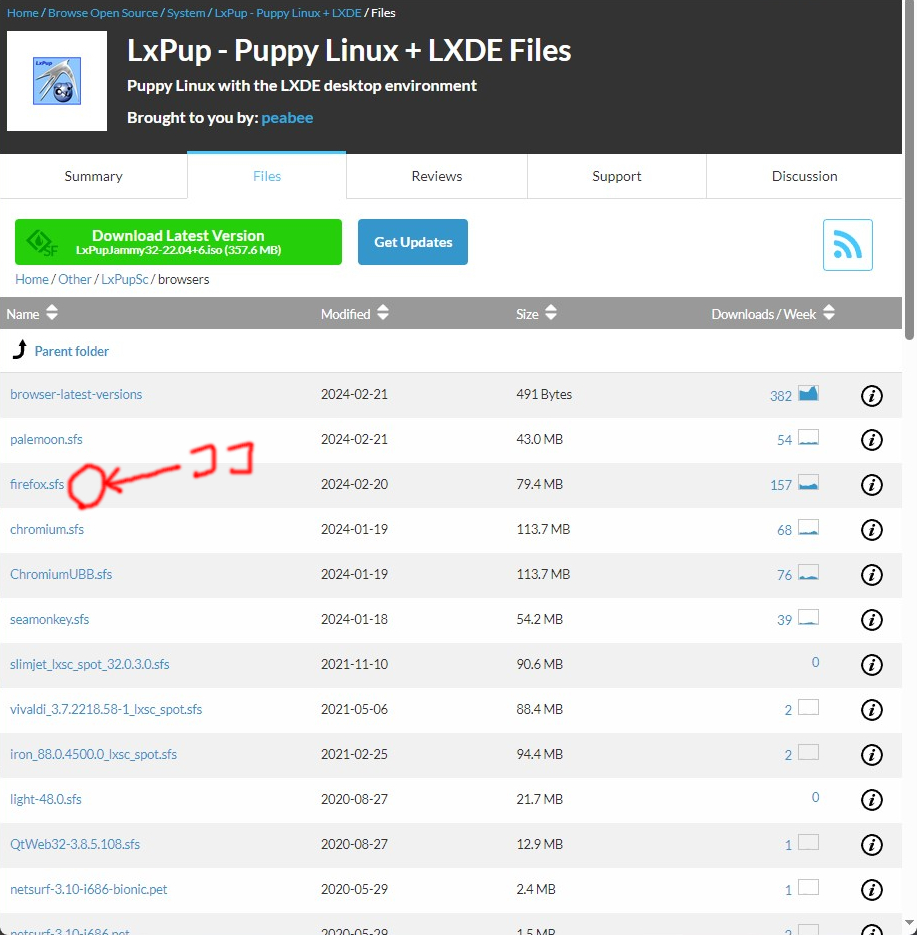
検索するときは、「S15Pup32 firefox.sfs」で検索します。
6.おまけですがOpenOfficeもインストールしたいので作成したSFSを家のサーバーにアップしてますのでダウンロードしてUSBにコピーします。(念のためノートン様でウイルスチェック済みです(2023/06/20 2024/01/12更新分)意味があるのかどうか・・・)
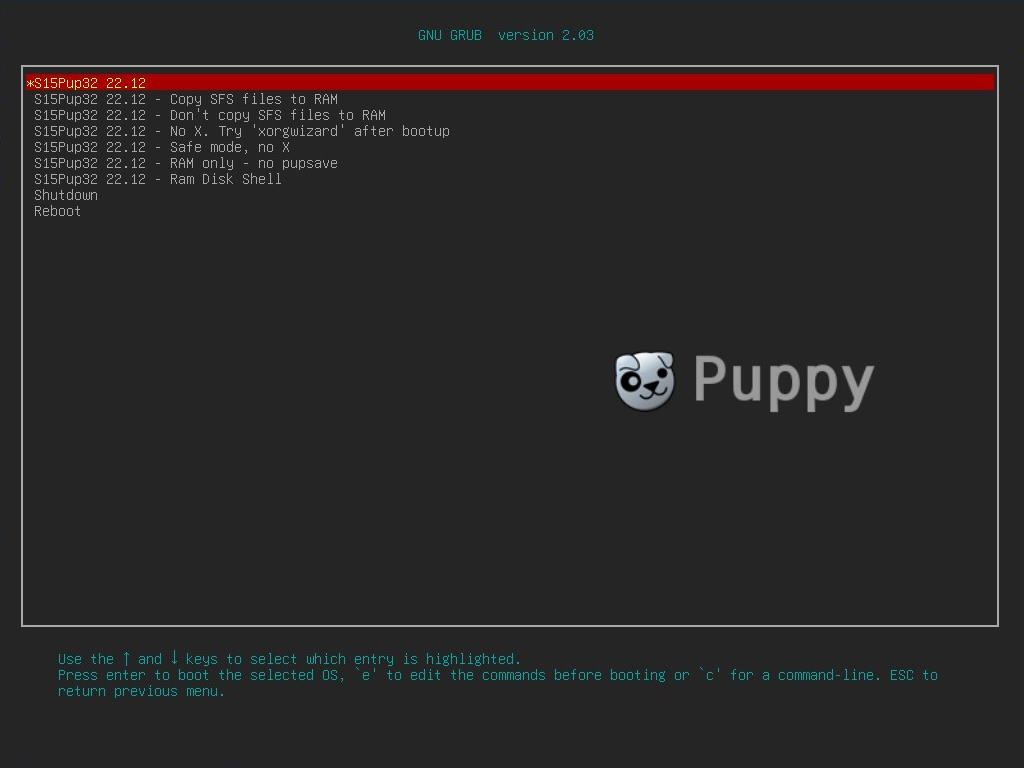
7.Rufusで作成したUSBから起動します。
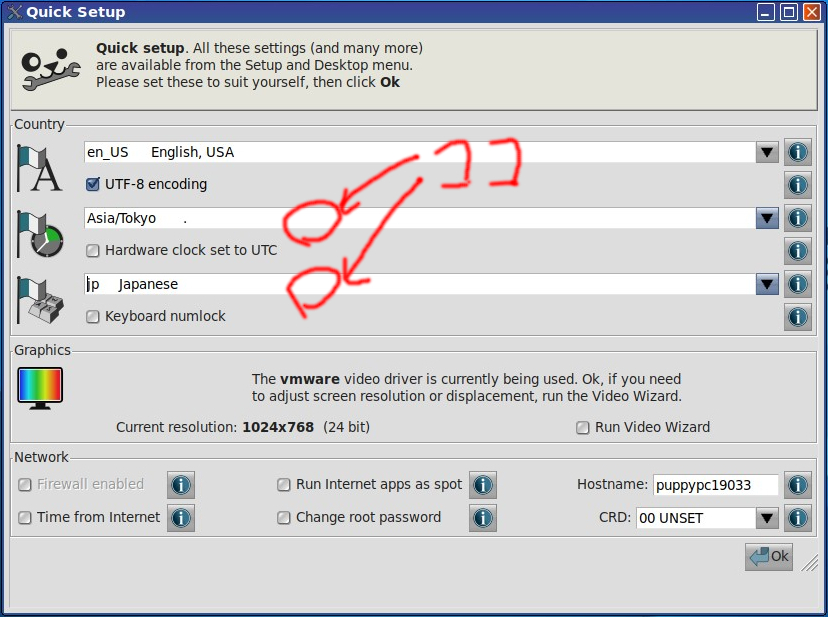
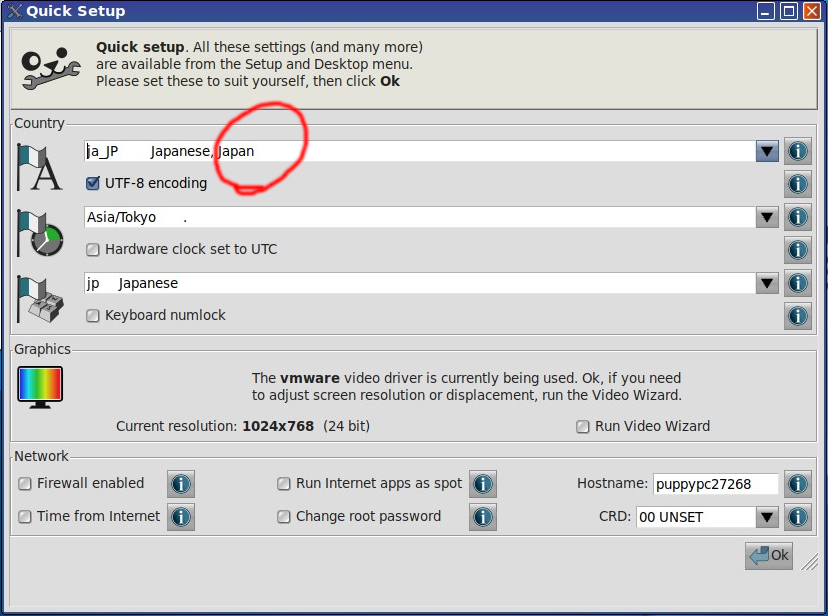
8.英語でQuick Setup パネルが開きますのでとりあえず時間とキーボードを変更します。
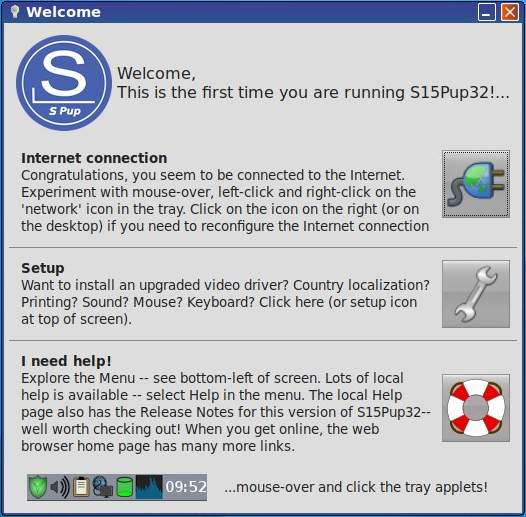
9.Welcome パネルは閉じます。
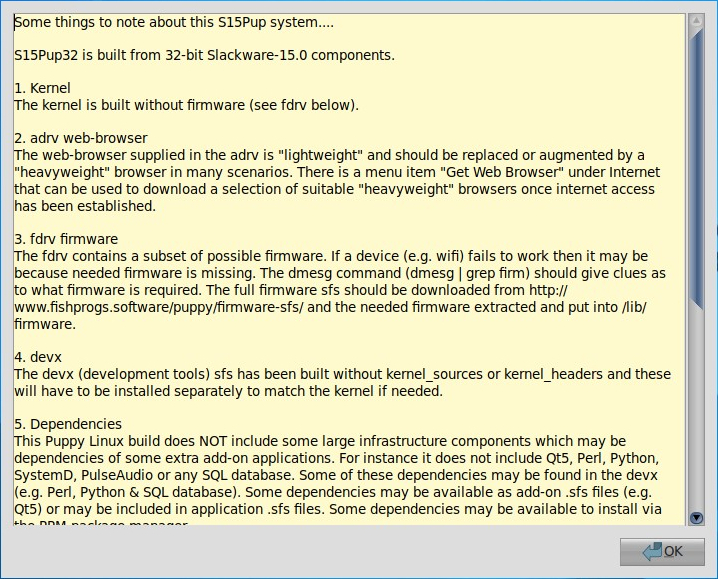
10.続いてS15Pupの説明ですが閉じます。
11.日本語化ファイルを適応します。
12.次のパネルでOKを押します。
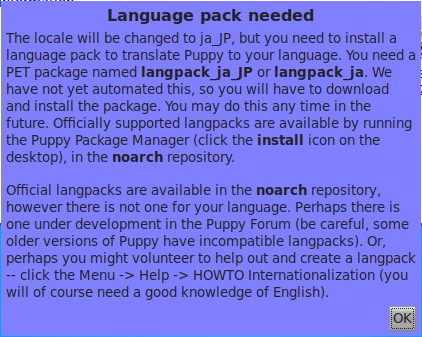
13.フォントを日本語に変更してOKを押します。しばらくすると
Language pack needed と表示されますのでOKを押します。
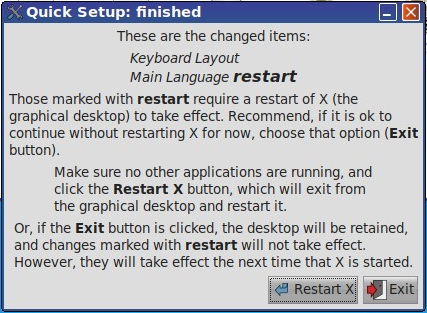
Quick Setup:finished を表示されますので Restart X を押します。
これでアプリケーションメニューが日本語化されます。
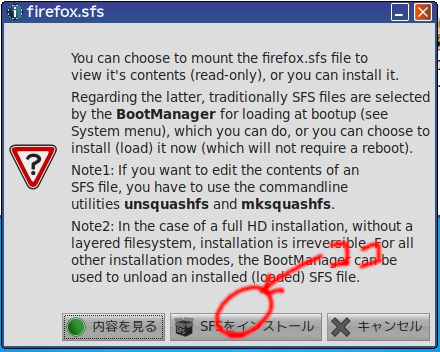
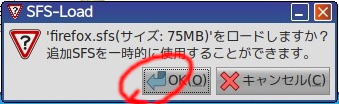
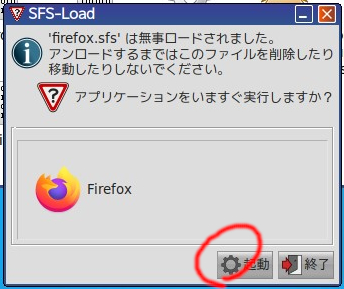
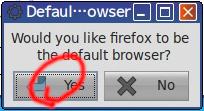
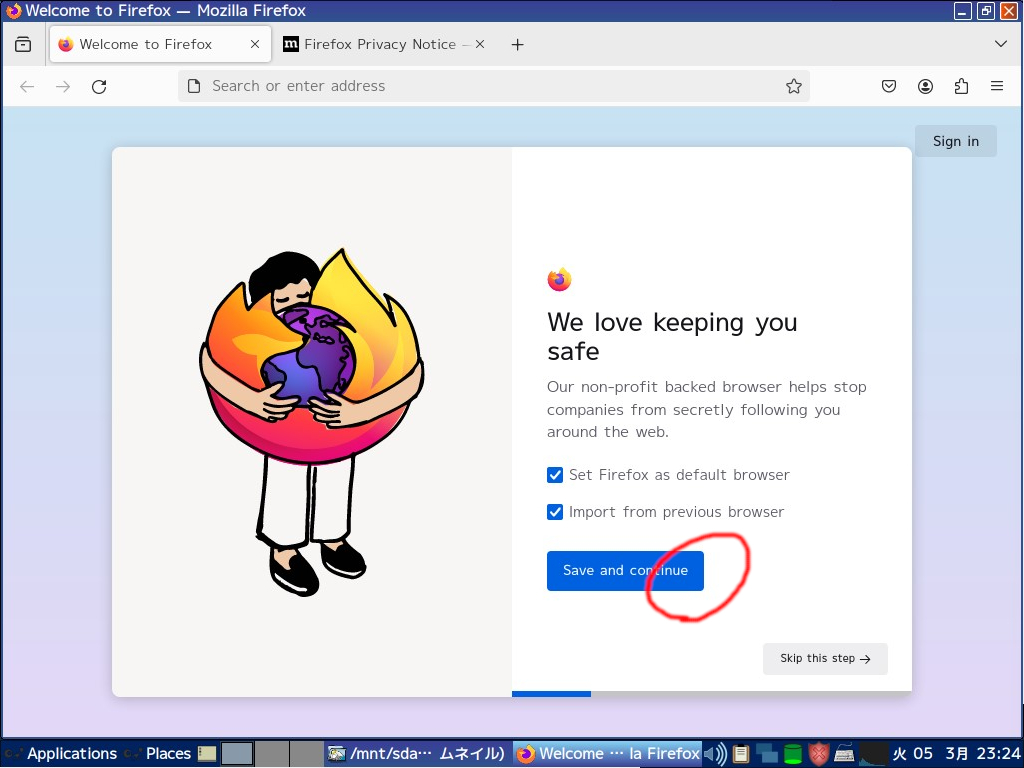
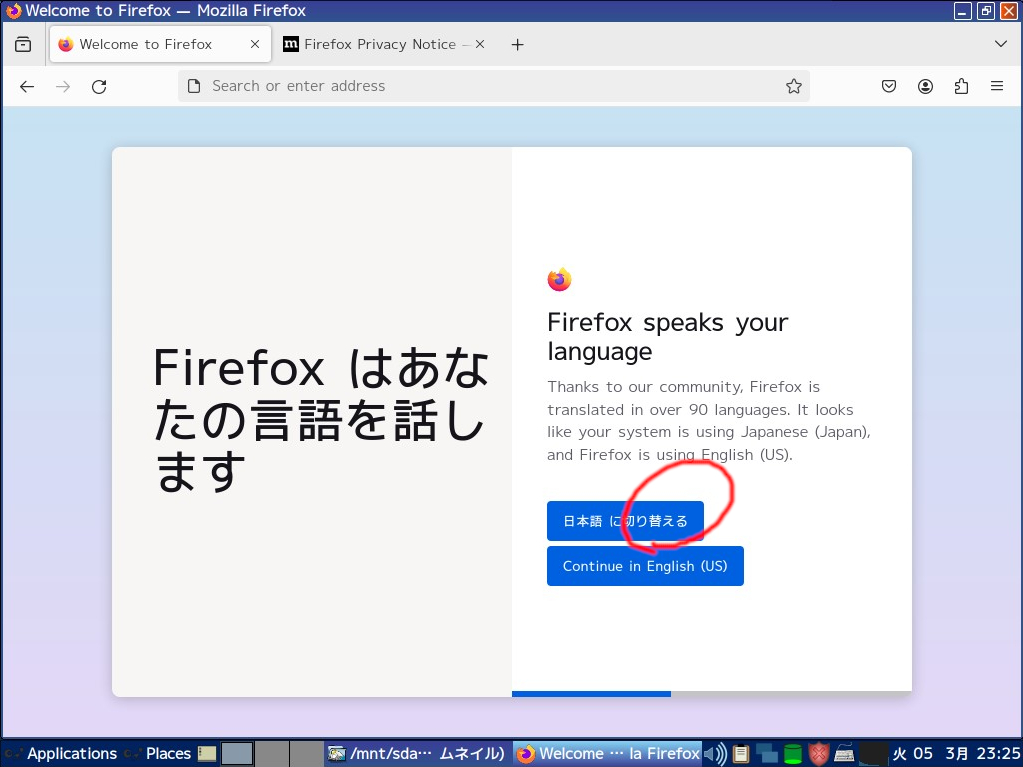
14.続いて用意していた firefox.sfs と OpenOffice-***.sfs をインストールするので、まずUSBから firefox.sfs をクリックし指示に従ってボタンをしましょう。
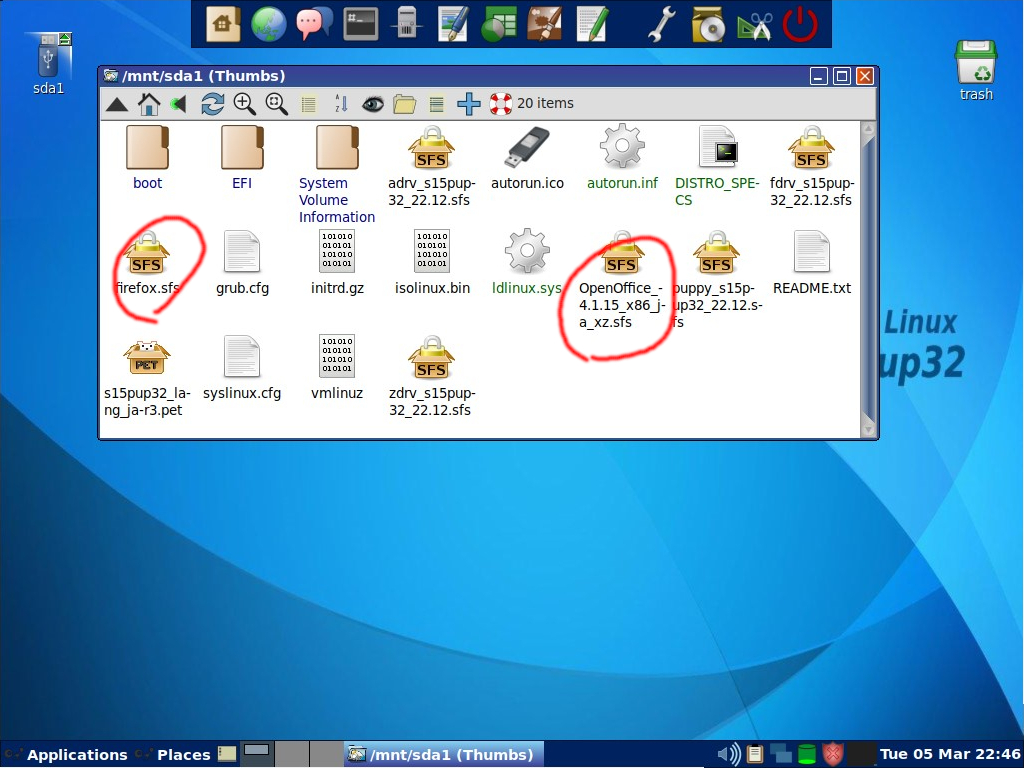
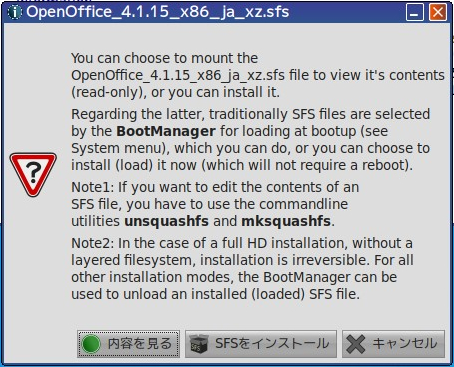
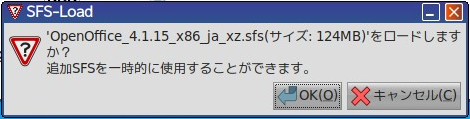
15.OpenOffice-***.sfs をクリックします。
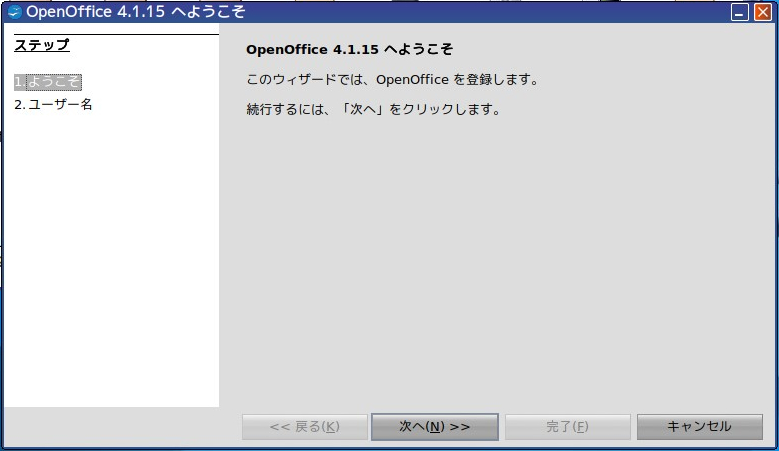
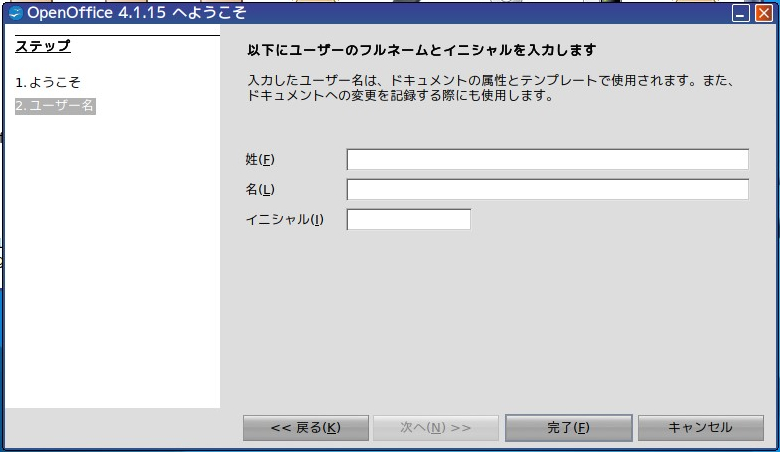
16.ロード直後ユーザー名登録のために起動してみますが、実際はこの画面からは起動できません。
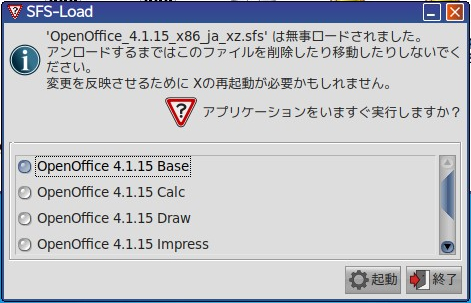
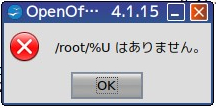
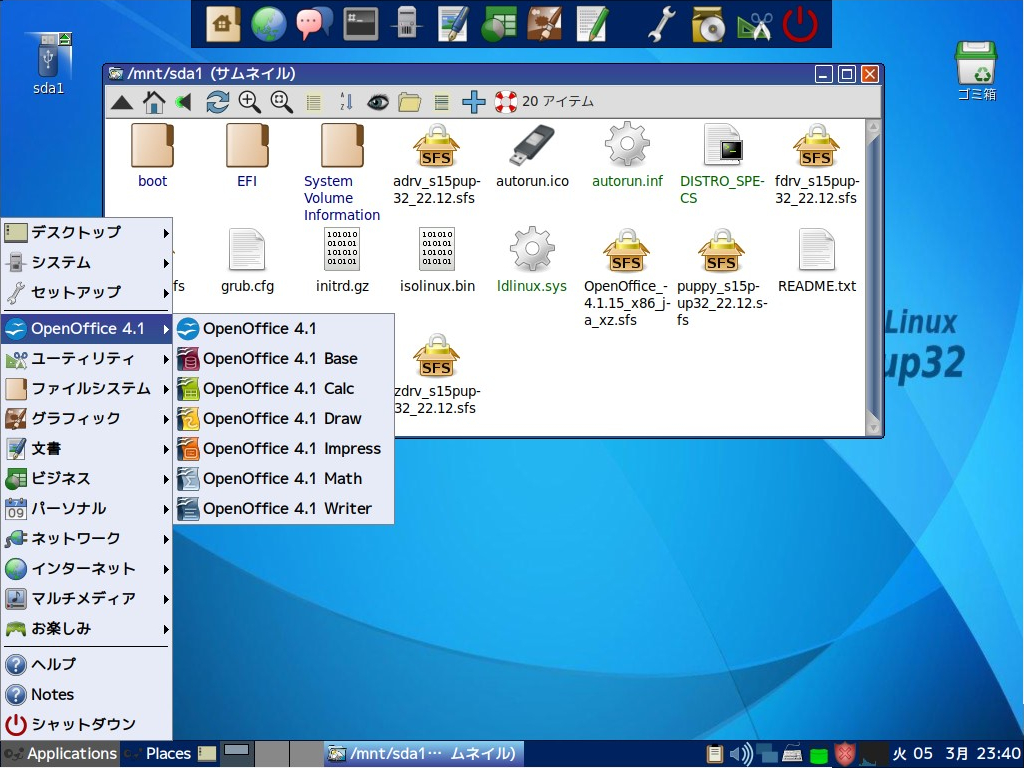
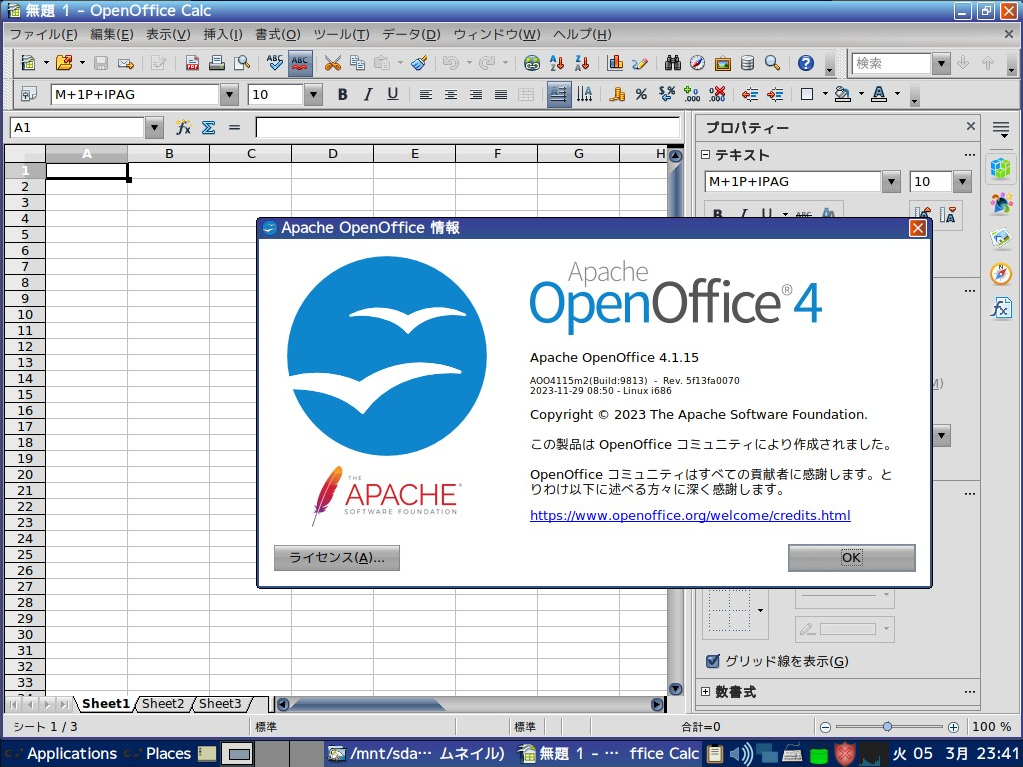
17. Calc を起動してみましょう。
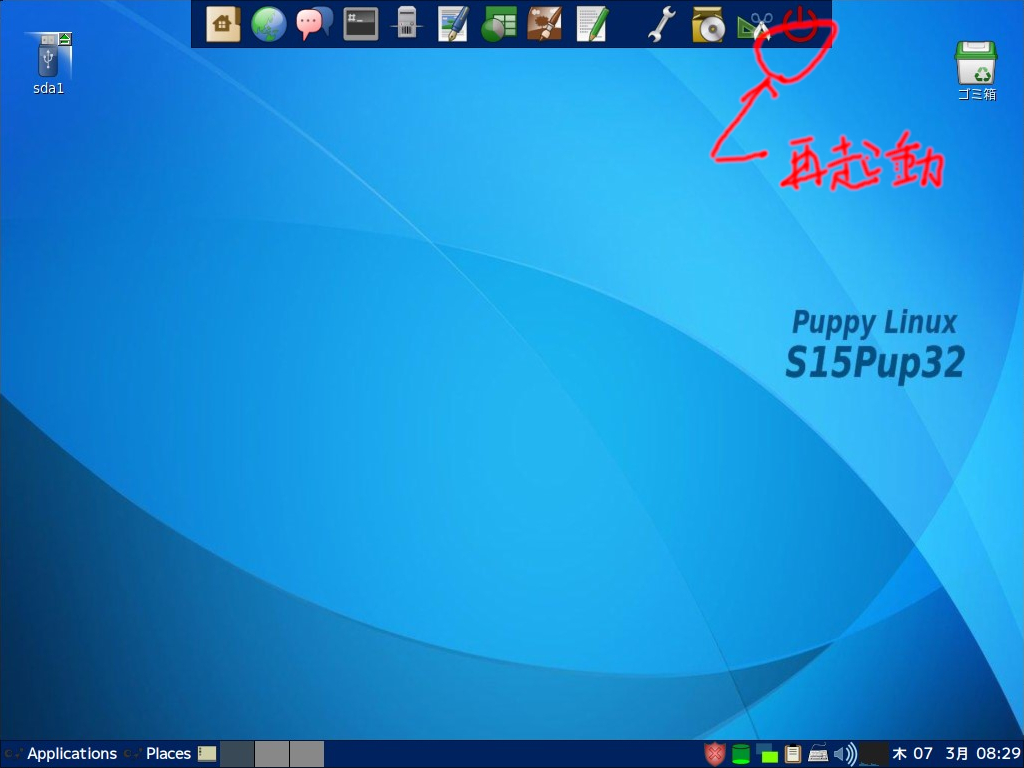
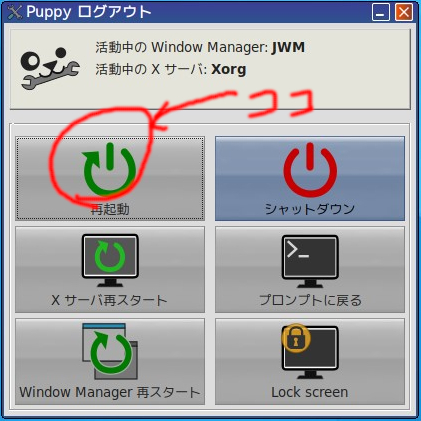
18.設定を保持するために再起動します。
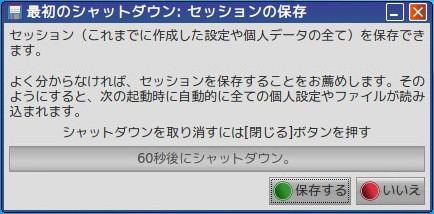
再起動を押すと最初のシャットダウン: セッションの保存パネルが表示されます。
19.保存するを押します。
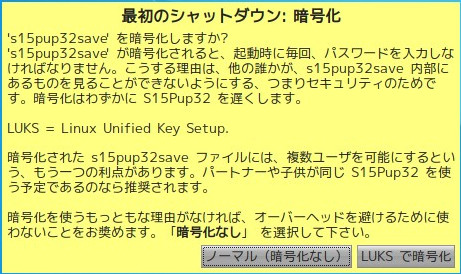
20.暗号化について
説明の通り理由がなければ「暗号化なし」を選択します。
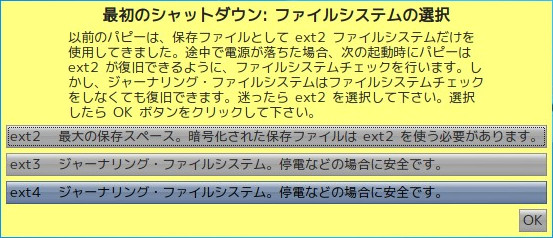
21.ファイルシステムの選択
特に理由がない限り「ext4」を選択します。
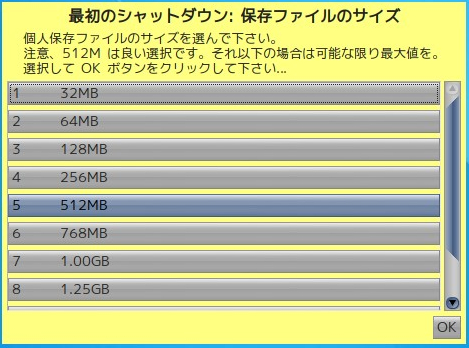
22.保存ファイルのサイズ
特に理由がない限り「512M」を選択します。
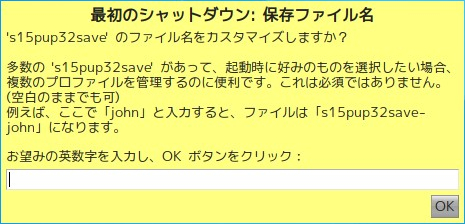
23.保存ファイル名
初めての場合や特に環境を使い分けない場合は入力しません。
24.最終確認、「はい、保存します」を押します。
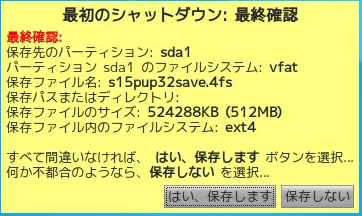
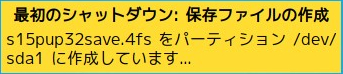
これで設定の保存ができるようになりました。
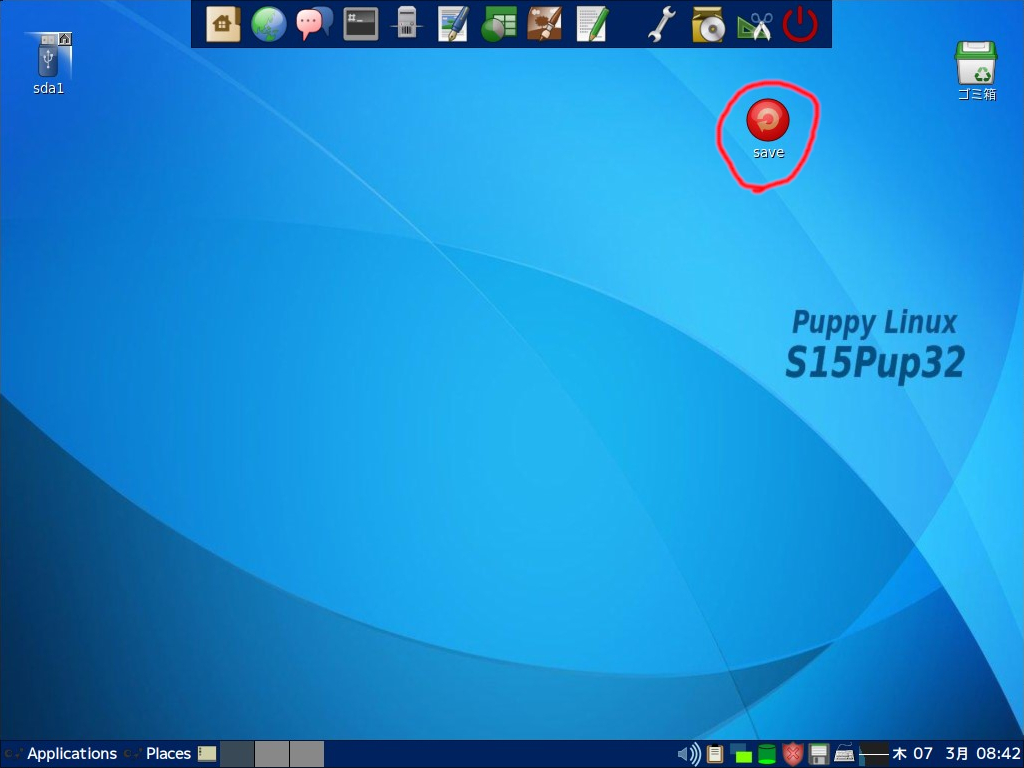
デスクトップ上に保存用のボタンが出現しますので、設定を変更した時などは忘れずに押しましょう。
これで、USB一つで色々できるかと思います。印刷については次のページで
