引き続きパーティションを切ったUSBにPuppy をインストールします。
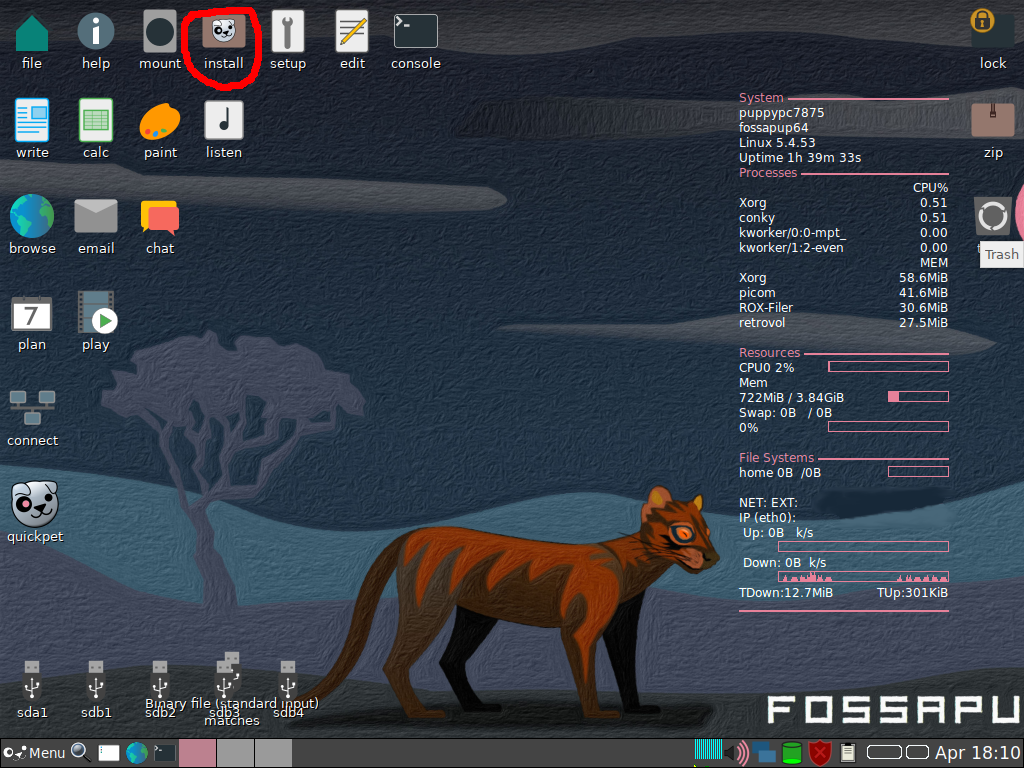
デスクトップ上のInsutallのアイコンをクリックします。
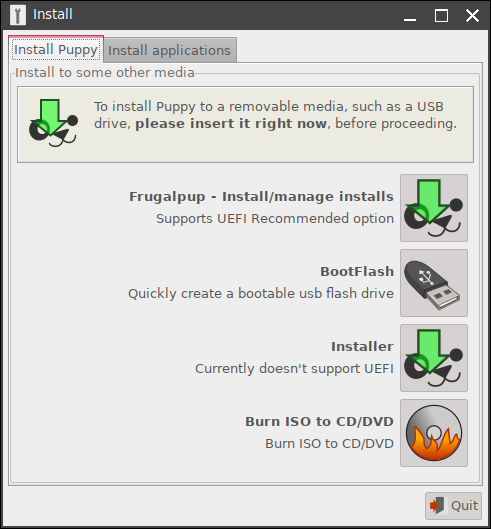
Frugalpup – Install/manage installsをクリックします。
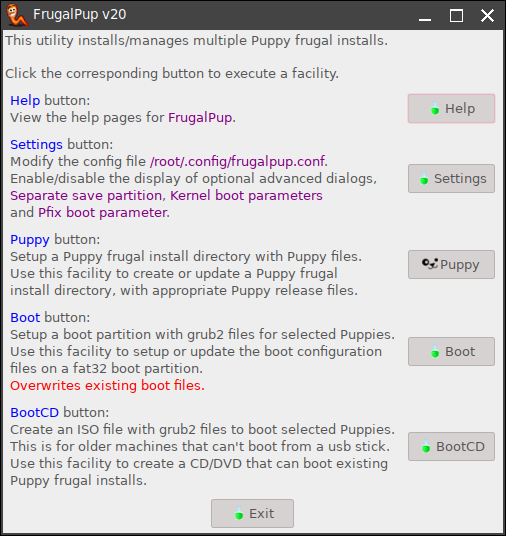
Puppyボタンをクリックします。
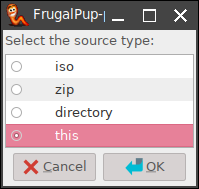
Puppyのインストール元を聞いているので this を選択します。
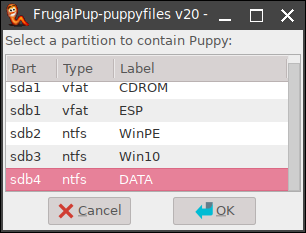
Puppyのインストール先を聞いているので sdb4 DATA を選択します。
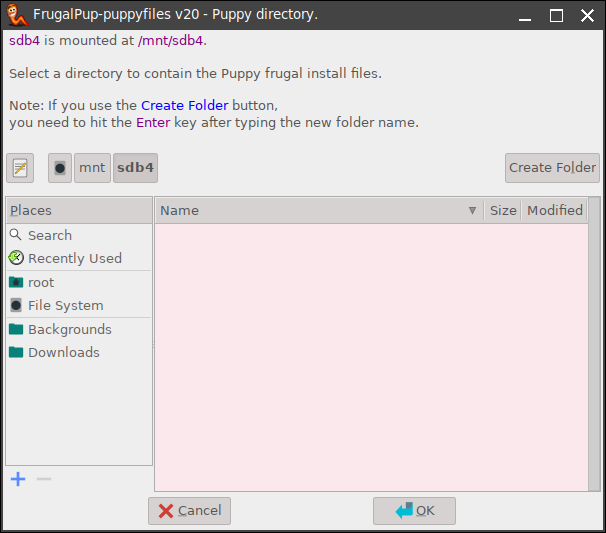
インストールするフォルダーを作成しますので Create Folder をクリックします。
フォルダーを FossaPup64 と入力します。
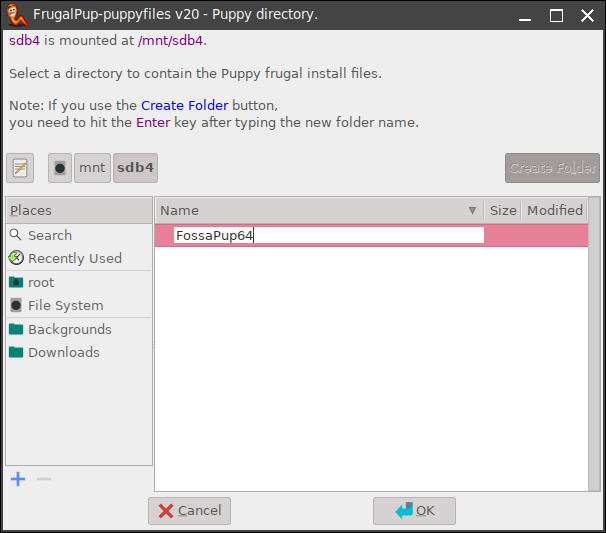
入力したフォルダを選択した状態でOKボタンを押します。
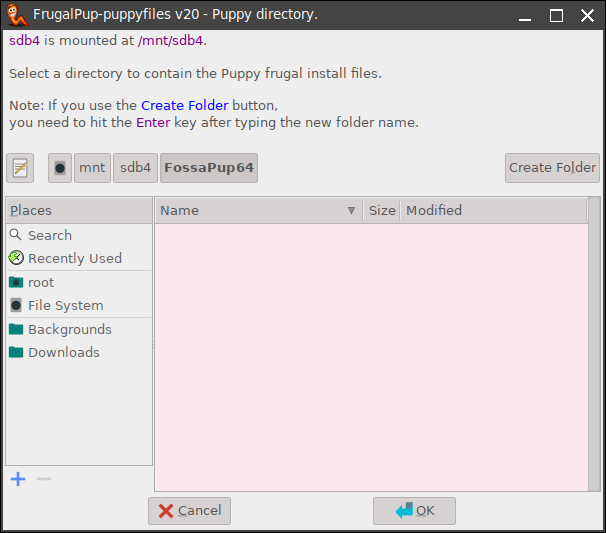
作成先が表示されますので間違いないことを確認してOKを押します。

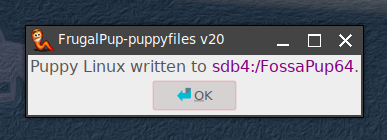
Puppyのコピー始まります。

コピーが完了したらOKを押します。
続いて起動の設定です。
